Home
Knowledge Base
Reviews
Articles
About
News
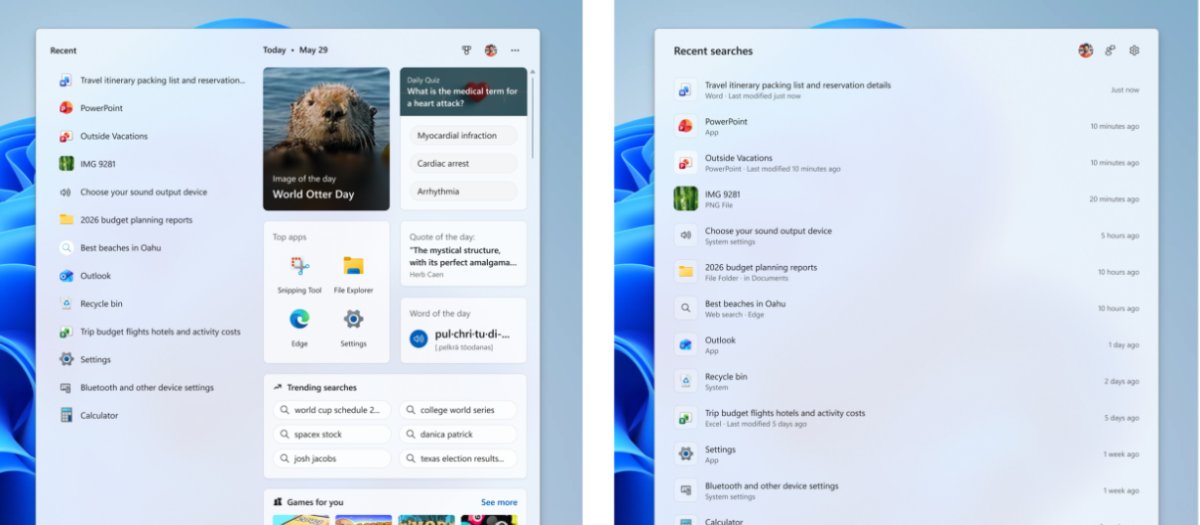
Microsoft Cleaning Up Search in Windows 11
Jul 14, 2026
·
Dustin
Windows 10
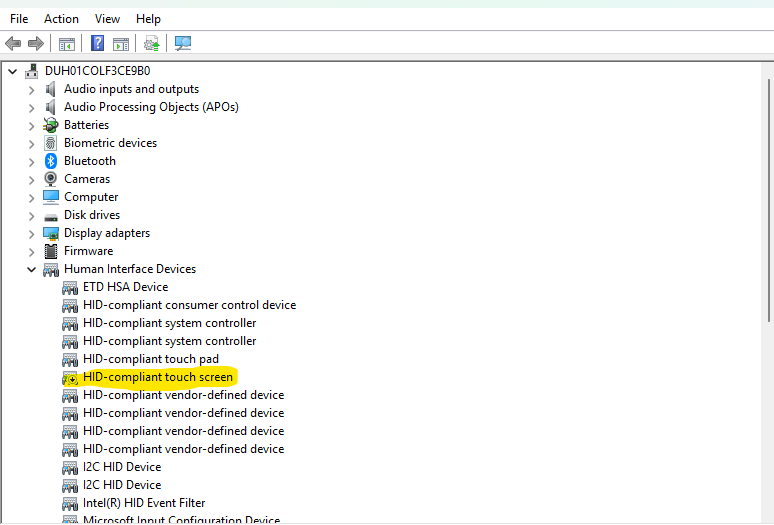
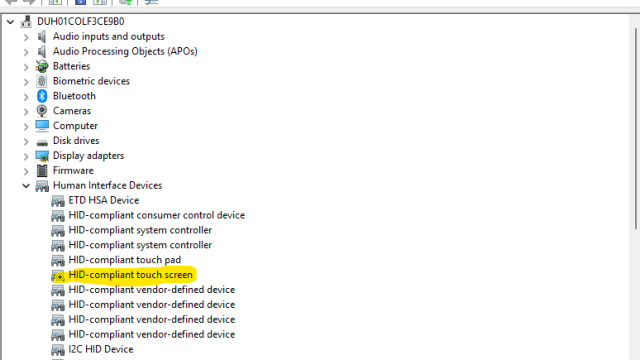
Disable Touch Screen in Windows
Jun 24, 2026
·
Dustin
Latest News
See all
Windows 10
Disable Touch Screen in Windows
Jun 24, 2026
·
Dustin
News
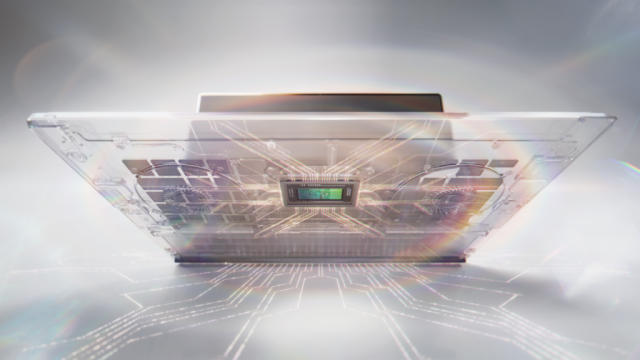
RTX Spark and New Surface Laptop Ultra
Jun 2, 2026
·
Dustin
News
Introducing Command Line Blog
Jun 2, 2026
·
Dustin
News
Windows Debloat Tools – Do They Help?
Apr 13, 2026
·
Dustin
News
Microsoft Commits To Windows Quality From New EVP of Windows
Mar 20, 2026
·
Dustin
News
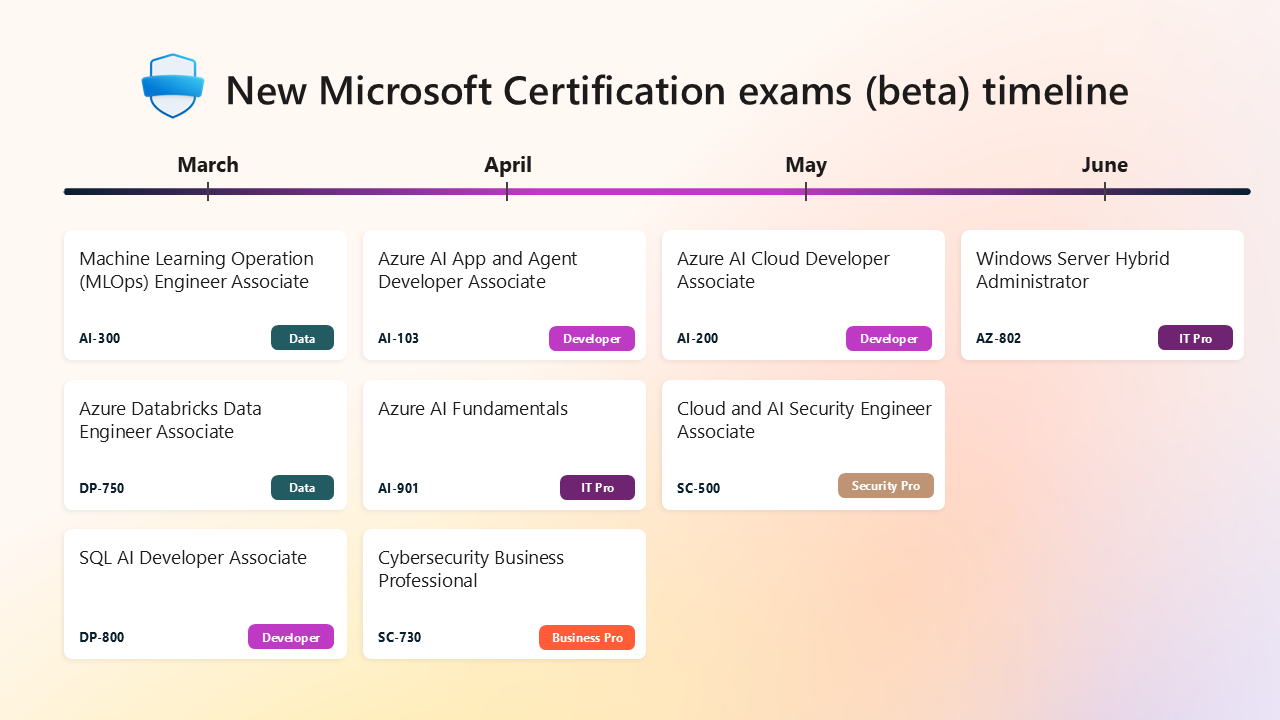
Microsoft Releasing New Certifications for AI, Azure, Security
Mar 9, 2026
·
Dustin
News
Microsoft Bringing Back the Vertical Taskbar… Drama Ensues.
Feb 15, 2026
·
Dustin
News
Microsoft Store Adds CLI Interface
Feb 12, 2026
·
Dustin
News
Consumer Reports Asks Microsoft To Extend Windows 10 Support
Sep 16, 2025
·
Dustin
Windows 11
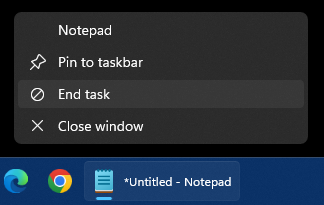
Add “End Task” To Right Click Application on Taskbar
Sep 16, 2025
·
Dustin
News
Microsoft 6502 BASIC Source Code Released
Sep 4, 2025
·
Dustin
News
Announcing Windows 11 Insider Preview Build 27764 (Canary Channel)
Dec 12, 2024
·
Dustin
Knowledge Base
In-depth guides, how-tos, and reference articles for Windows, Azure, Xbox, and more.
Browse all articles
Windows 10
Disable Touch Screen in Windows
Jun 24, 2026
·
Dustin
Windows 11
Add “End Task” To Right Click Application on Taskbar
Sep 16, 2025
·
Dustin
Windows 10
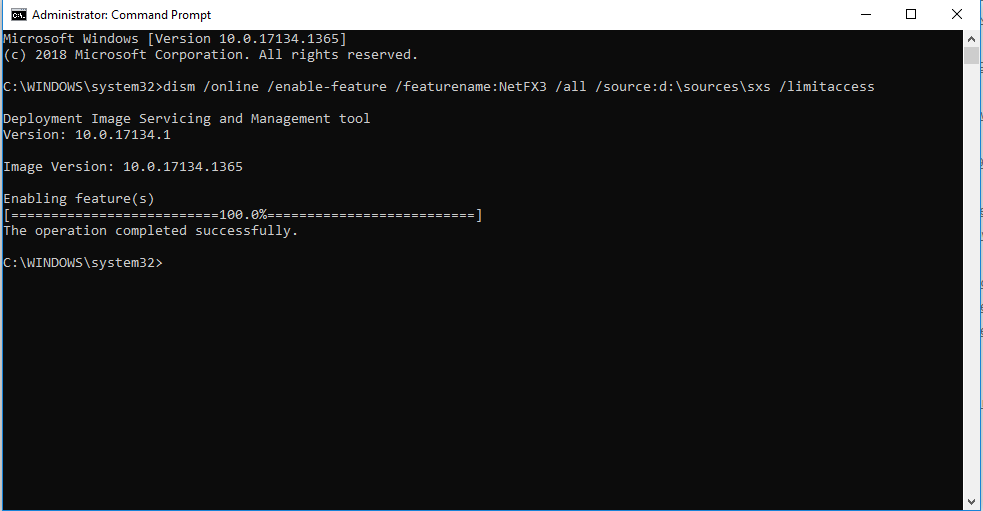
Offline install of .Net Framework 3.5 using DISM
Apr 1, 2020
·
Dustin
Windows 10
Disable Autohide Scrollbars
Jul 8, 2019
·
Dustin
Windows 10
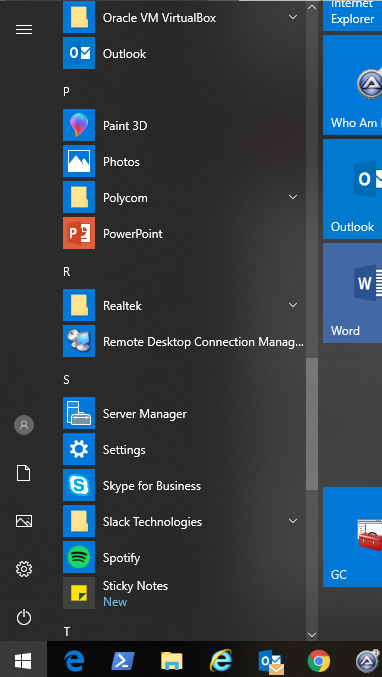
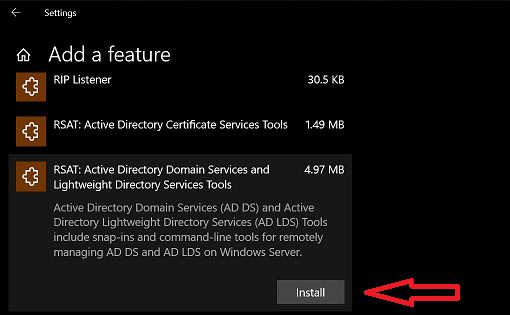
Install Active Directory RSAT in Windows 10 1809 or later
Jul 8, 2019
·
Dustin
Windows 10
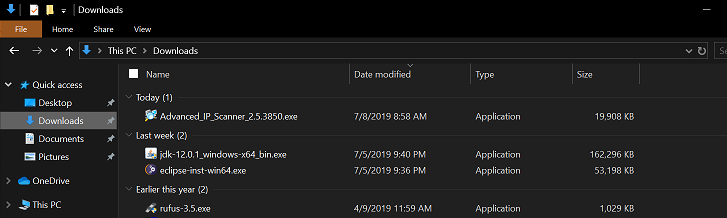
Disable File Grouping in File Explorer
Jul 8, 2019
·
Dustin
Windows 10
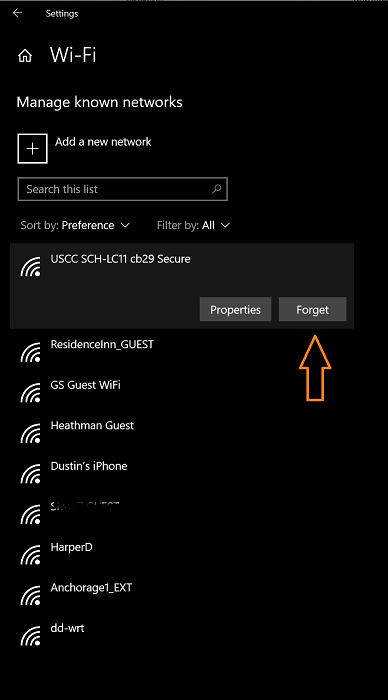
Forget Wireless Networks
Jul 8, 2019
·
Dustin
Office Suite
Show Hidden Files & Folders
Jul 8, 2019
·
Dustin
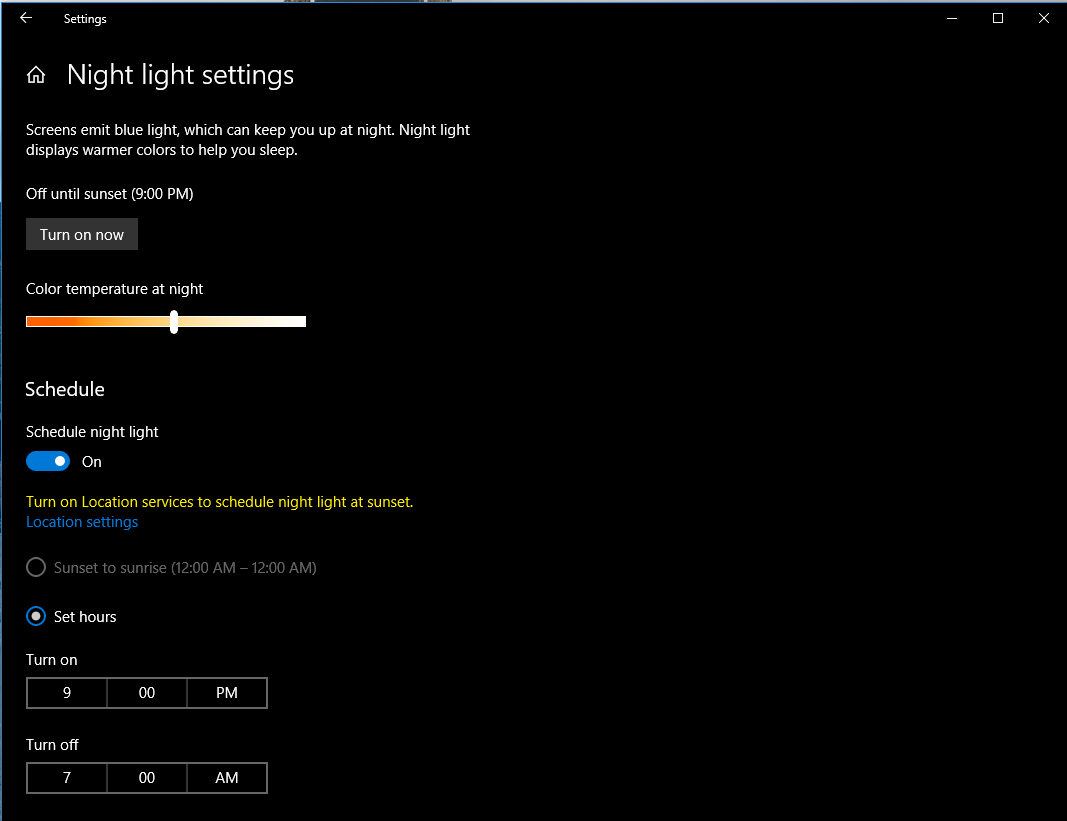
Windows 10
Enable Night Light Mode
Jul 8, 2019
·
Dustin
Posts pagination
1
…
113
114
115
116
117
…
150